Navigation
Aeralfos
Aeralfos Skip
Discovered by Paraxade
By getting into position and precisely clawshotting the target (aim at the little blue dot), it is possible to skip the Aeralfos fight, which saves around 40 seconds. Unfortunately, unlike the GameCube version of the game, HD does not have notches or angle buffering and does have gyro, so the trick is much harder. There are four ways of getting into position for the trick:
3rd Person Clawshot Clip Method
Discovered by mralberto23
Using 3rd Person Clawshot Clipping, it's possible to shoot the clawshot up and through the wall to grab onto the clawshot target.
Setup
Make sure that you have 3rd person aiming and gyro enabled. For practice, it's recommended to defeat the Aerolfos first, since the gate being open allows you to practice this trick repeatedly very quickly.
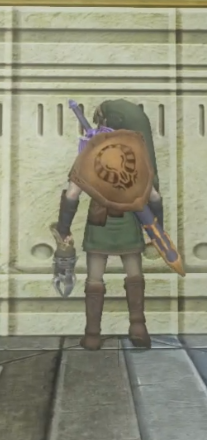
Position Link so that he's all the way up against the wall and have just his right foot be on the blue fall floor tile to the right (as shown below, this is not very precise).
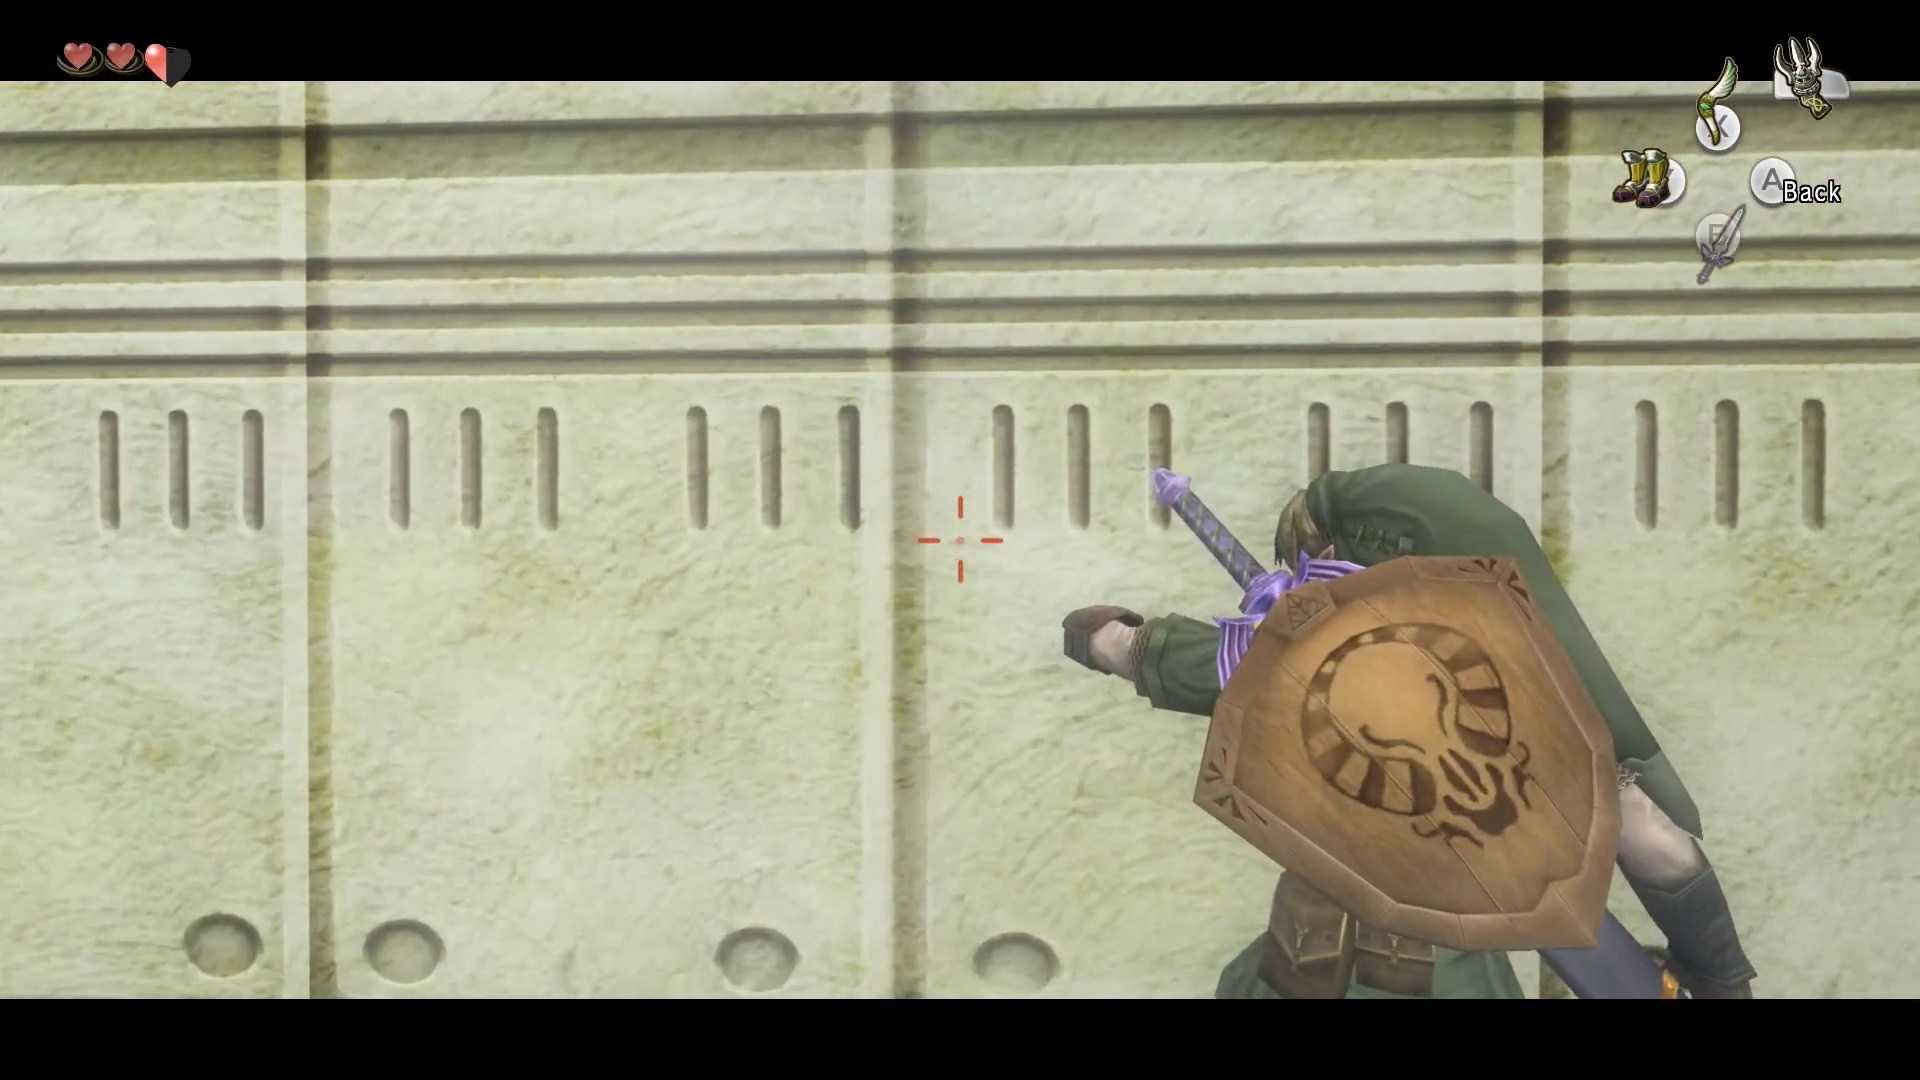
Pull out the clawshot and make sure that it's oriented such that you can see Link's brown forearm pad while he's aiming through the wall to the left. Position the reticle so that it lines up roughly with the bottom of the short vertical lines on the wall (as shown below, the lateral position may vary slightly depending on camera angle.)
While holding the clawshot button, aggressively flick straight up with the gyro aiming and immediately release the clawshot button afterwards to shoot it through the wall. To figure out the nuance of the exact motion, pay close attention to where the clawshot ends up going. If you can see if hit the ceiling before the clawshot target, that means you flicked upwards a little too aggressively. If it doesn't hit anything, that means it went beyond where the ceiling of the clawshot target is and you need to flick slightly more aggressively. If the clawshot just immediately hits the wall, that means you're either not all the way up against it, or you need to flick up much more aggressively.
Draconif Method
Discovered by Draconif
With the iron boots on and the sword out, jump attack once (mash out of the cutscene), do three neutral slashes, then turn around.
The following video contains data viewer information showing Link's position and angle.
Four Slash Method
With the iron boots off, do three neutral slashes and a fourth slash while holding forward, then turn around.
Roll Backwards
With the iron boots on, roll backwards once, then take off iron boots and roll forwards once. Without notches, this setup can be inconsistent.
Roll Forwards
With the iron boots off, roll forwards once, then put on the iron boots and roll backwards once (be sure not to rush this second roll or you will end up too far down). Without notches, this setup can be inconsistent.
Aeralfos Battle One-Cycle
Discovered by Garm
Normally, after Aeralfos takes a certain amount of damage, the second phase of the fight will start. However, you can deal more damage without starting the second phase by hitting Aeralfos's shield during attacks (shielded hits when Aeralfos is standing there blocking do not count), and if you deal enough damage, whenever you land a real hit, Aeralfos will die, skipping the second phase. The damage thresholds are:
- To start the second phase, two full sword combos or more than four ball and chain hits (or an equivalent mix of damage)
- To kill the Aeralfos, four full sword combos, nine ball and chain hits, or eight ball and chain hits and one slash (or an equivalent mix of damage)
Ideally, the fight goes like this: Start by hitting the Aeralfos with the boomerang to make it pull out its shield, then use the clawshot to pull it down to the ground. Take out the ball and chain and swing it into him five times. Aeralfos should block the last attack. Walk forward slightly and swing the ball and chain around as Aeralfos tries to hit you (with a slow attack, you should get three hits). Stand up, walk forward slightly, hit Aeralfos with the B&C once during its attack, and throw the ball and chain. If successful, the ball and chain will hit and kill Aeralfos on the way back.
Sadly, Aeralfos's attacks are not entirely consistent. If it does a fast attack, you might only get one shielded hit, in which case you need to count up to four hits before hitting it with an unshielded ball and chain attack (or up to five hits before hitting it with a slash). In general, however, Aeralfos should never fly back up more than once before you are able to kill it.
Quick Aeralfos Battle (obsolete)
Discovered by LogitechSDAZ
Start by hitting Aeralfos with either the bow or boomerang to make it pull out its shield, then use the clawshot to pull it down to the ground. Take out the ball and chain, swing it into Aeralfos four times, and release it on the fifth swing. The ball and chain should hit and kill Aeralfos on the way back. Repeat the process for the second phase (Aeralfos should die on the fourth hit if you did the first phase correctly).
Note
Other Aeralfos fights (for example, the one in Hyrule Castle) work exactly like the Quick Aeralfos Battle, except that there will not be a second phase.